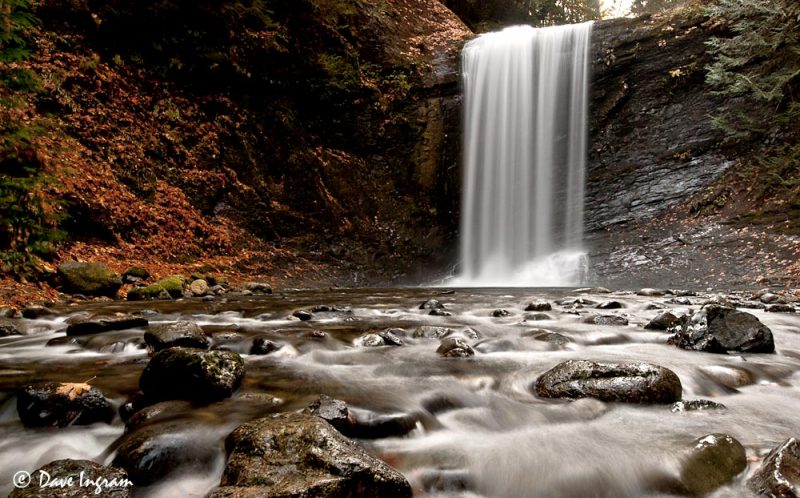
I’ve been working on slow exposures and moving water over the last couple of weeks so that was a good excuse to take a side trip out to Ammonite Falls while in Nanaimo running errands. I did a little research on the internet to figure out how to get to this “little visited” water fall that is a bit off the beaten track—the directions turned out to be pretty accurate although the challenging steep bit at the end didn’t quite live up to its description. More on that later.

I spent a thoroughly enjoyable couple of hours out at the falls trying some different compositions and slow exposures. I get into a bit of zen state while making photographs and even if the end results aren’t particularly satisfying, the process itself is. Regardless of how the images turn out, I’m always happy if I learn something that I can change the next time I’m out with the camera. Such was the case today.

It was tricky getting a good composition with a nice rock in the foreground and the waterfall well lit, especially since the sky above the lip of the waterfall was extremely bright in contrast to the dark wall of rock on either side of the water. The water flow was pretty fast, so no problem getting the water to blur but it was also quite high which reduced the number of exposed rocks. I think that a little less water volume would have been better and more rocks would have been visible.
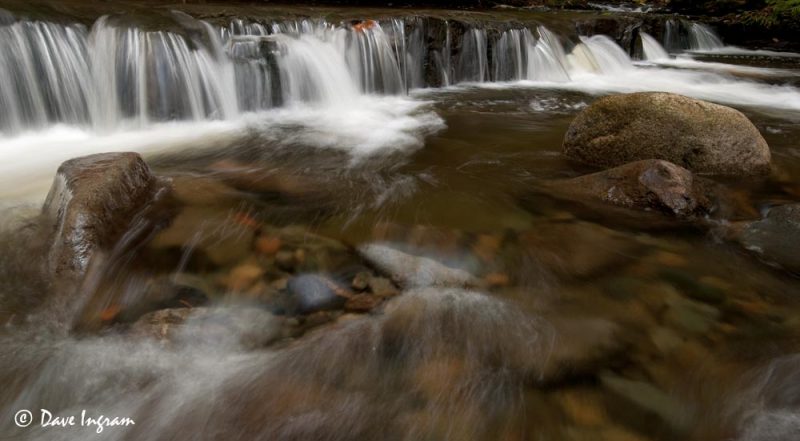
Above the falls is a section of the creek with an interesting rock shelf and drop. I wasn’t quite happy with my compositions here either. I think that the volume of water in the creek made it difficult to work the rocks in as well as making it challenging to move through the water.

Back at home viewing the pictures on my iMac, I realized that most of my images were OK but not really the way that I visualized them while out at the falls. I always check my compositions in my camera display, but things look different once they’re in Lightroom. When I was trying to clean my filter out at Ammonite Falls, I thought that it still looked a little streaky and sure enough, some of the photographs were noticeably “watermarked.” Even though I clean my sensor fairly regularly, there seemed to be quite a few dust spots/water spots that needed retouching. And what looked pretty good on the camera display was so-so when enlarged. It’s a lot more work going through a mediocre set of images and trying to find some that work than it is with a couple of standouts.
In the end, I had a great day out at Ammonite Falls. I’m looking forward to coming back again when there’s a bit more vegetation to work with around the base of the falls and when there’s a little less water in Benson Creek. Not being 100% satisfied with my photography results is always a good excuse to return!
Need to Know:
- Good boots/shoes are recommended, running shoes would be fine for most of it but they’ll get muddy in the last bit. I wore Bogs rubber boots which are comfortable to walk in and great for the muddy bits and getting across the creek.
- Bring a tripod if you want to do some long exposures, morning probably better for light than the afternoon since the sun will be behind you when photographing the falls.
- While there is more water in the fall, spring and summer might be better for photography to get a little more green vegetation to frame the falls.
- This destination appears to be fairly well known. Over the course of a little over three hours (including hiking in and out) I must have seen close to 20 people. It is fairly accessible and takes about 40 minutes to walk in—the trick is knowing where the trail head is and making your way to the falls itself.
Additional Reading
Getting There
- Getting to the falls is pretty straightforward. From Jinglepot Road in Nanaimo look for either Meadow Road (at the East Wellington Fire Station) or Kilpatrick Road. Both of these will take you to Jameson Road. Drive to the end of Jameson Road (to the right) until it ends at Creekside Road. Park here (don’t drive up the gravel road to the gate, there’s no parking there).
- Walk in on the gravel road past a yellow gate and into the Malaspina University College Woodlot
- Ignore the first gravel road to the left that goes up hill, continue straight through the managed forest.
- Ignore the second gravel road to the right that goes down hill into a recent cut block. At this intersection you’ll see a sign post with a blue Benson Creek Falls Regional Park sign. Continue straight onto the lesser used gravel road.
- Shortly after the road re-enters the forest you’ll see a small parking area on the left and another Benson Creek Falls Regional Park Sign as well as a hand made sign which reads Ammonite Falls on the right. A well trodden trail goes up and over a bit of a bank and then starts to descend downhill toward a ridge that follows Benson Creek. You’ll hear it on your left. There are two (mountain bike?) trails that branch off to the left from this trail. One is signed the “Drunken Logger.” Ignore both of these and continue down the hill.
- At the bottom of the hill the trail levels out along the top of a ridge that runs alongside Benson Creek. You should see another blue sign for the regional park and a no littering sign along this stretch. It eventually comes out into a bit of an open area near the edge of a cut block. Here look for a trail on the left that follows the ridge (there were two but both joined on the down side of the slope). Keep to the woods and follow the sound of the stream.
- The trail goes down another hill to an open area at the top of the falls. There’s an old fire ring here.
- Continue through the open area and follow the trail down toward the sound of the falls. It’s fairly steep in the first bit but gets steeper once you can see the falls.
- The final section is muddy, slippery and steep. There’s a set of ropes that you can use to assist you on the way down. If you’ve climbed any of the Mayan ruins at Tikal or Chichen Itza you shouldn’t have any difficulties with this section, just use caution and common sense. I don’t like heights but was pretty comfortable with scrambling down with a backpack and a tripod. It compares to the steep sections of the Radar Hill Beach trail out in Pacific Rim National Park Reserve.
- Allow yourself about 40 minutes from the trailhead to the falls.
Parking Area